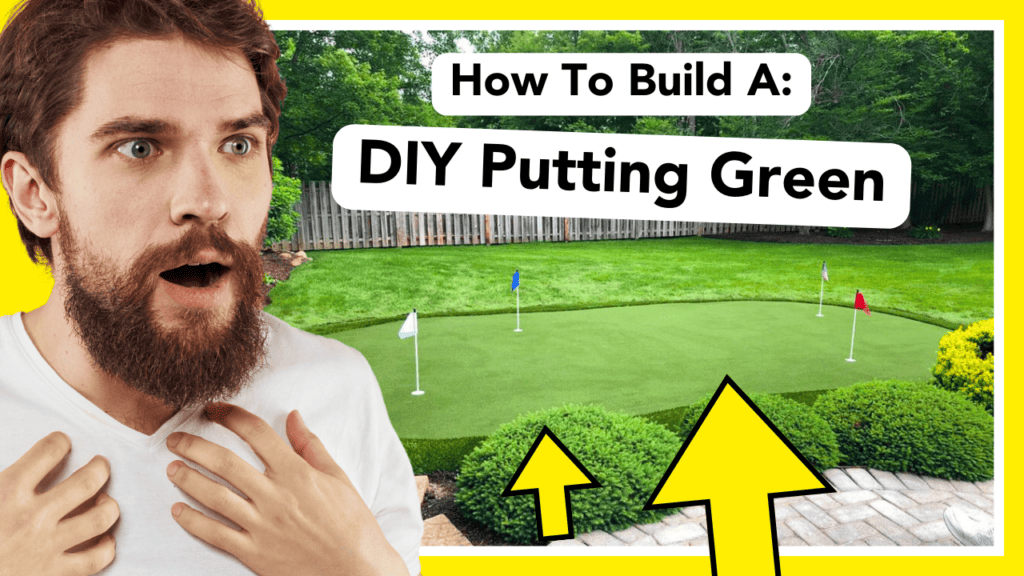
Enhancing your golf skills doesn’t always require a trip to the course (did you hear that? That was your wallet breathing a sigh of relief). With a DIY backyard putting green, you can practice your putting technique right in the comfort of your own home. In this step-by-step guide, we’ll walk you through how to make a putting green that’s budget-friendly and effective, right in your backyard.
Planning Your DIY Backyard Putting Green
How to make a putting green: PLAN! Start by assessing the available space in your backyard and envisioning the size and shape of your putting green. Consider factors like the slope of the land, available sunlight, and any potential obstacles. Sketch out a basic plan to guide you through the construction process.
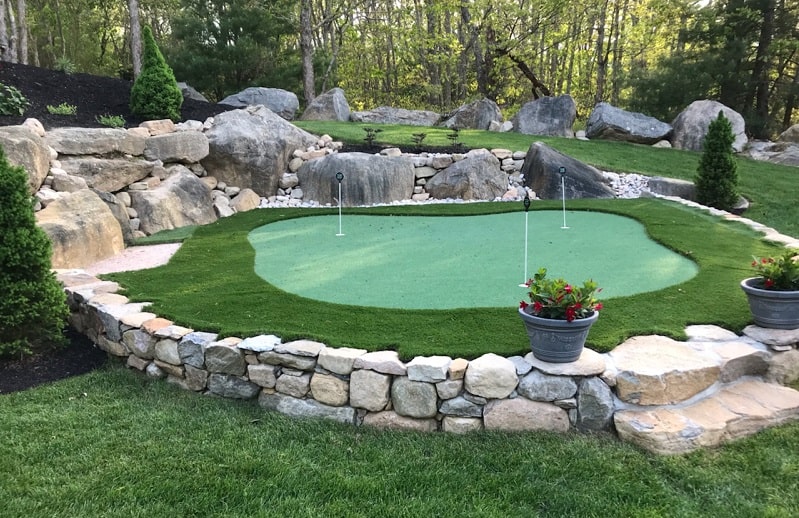
Materials and Tools
For a simple yet effective DIY backyard putting green, you’ll need:
- Artificial turf
- Wooden boards or synthetic putting green borders
- Sand or gravel
- Weed barrier fabric
- Utility knife
- Nails and a hammer
- Putting cup and flag
- Level
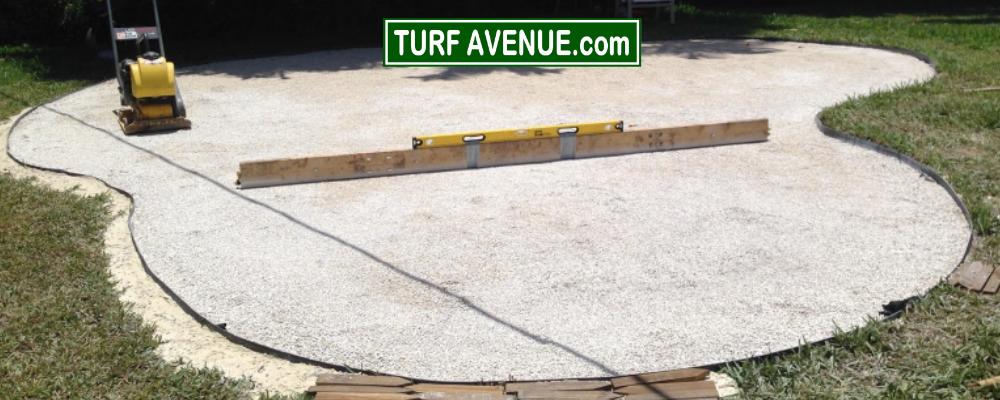
How to make a putting green: Building the Base
Prepare the ground by removing any debris and leveling the surface. Create a frame for your DIY backyard putting green using the wooden boards or synthetic putting green borders to outline the putting green’s shape. Fill the area with a layer of sand or gravel to create a stable base. Compact the material and use a level to ensure an even surface.
Adding Contours and Challenges to your backyard golf green
Enhance your backyard golf green by adding contours and challenges. Use additional layers of sand or gravel to create slopes and breaks in the green. Experiment with different elevations to mimic the challenges you might encounter on a real golf course.
Installing the Putting Green Surface
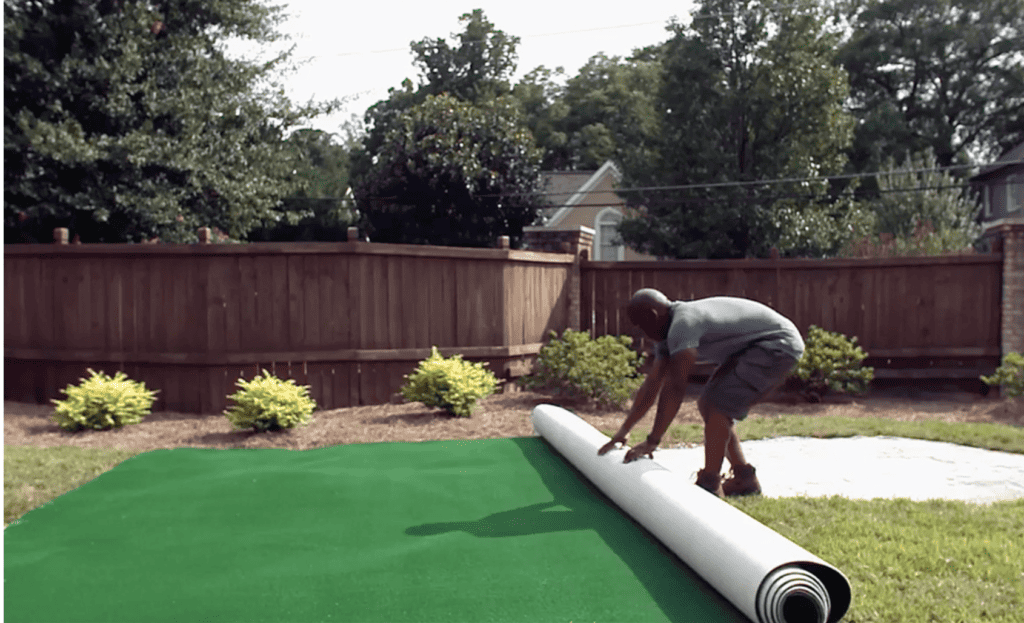
A crucial step in how to make a putting green is rolling out the artificial turf over the prepared base, leaving excess material around the edges. Trim the turf using a utility knife, following the outline of the wooden or synthetic frame. Secure the turf using nails or adhesive, ensuring it is taut and smooth. By this point, your DIY backyard putting green should be starting to take shape!
Finishing Touches to your backyard golf green
Install a putting cup at one end of the green and place a flag for a realistic touch. Make sure the cup is level with the surface. Trim any excess turf around the edges for a polished appearance.
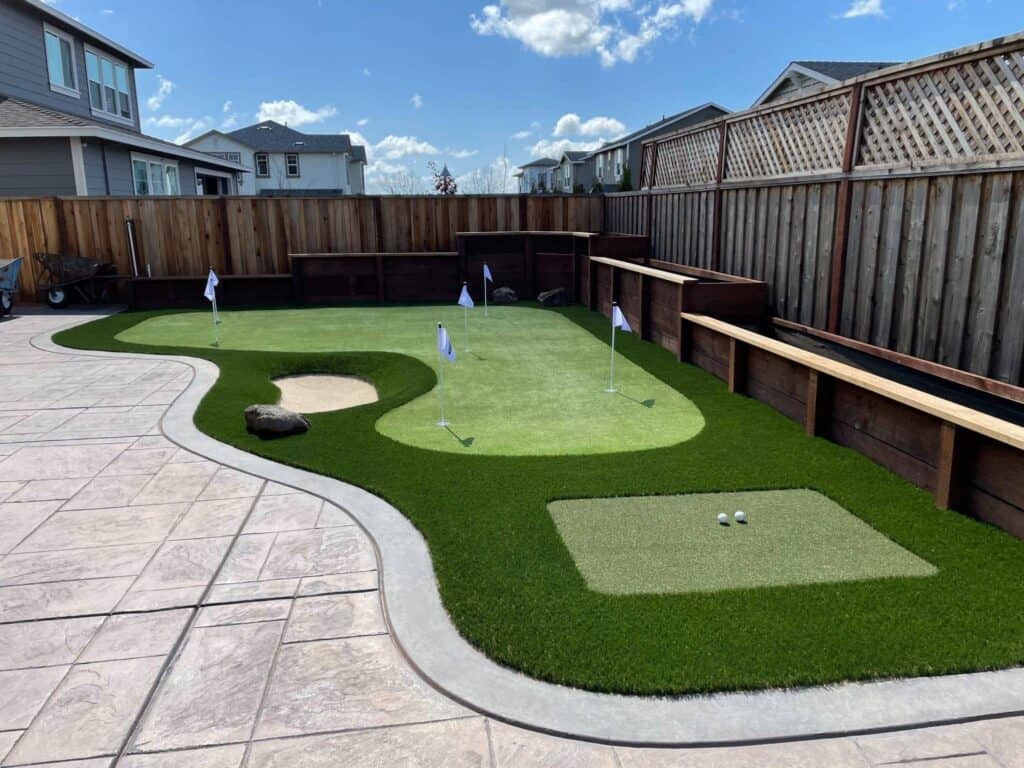
Maintaining your diy backyard putting green
Keep your DIY putting green in top shape by regularly brushing the turf to maintain its smoothness. If you notice any uneven areas, add sand to level the surface. Remove debris and leaves promptly to prevent damage to the turf.
conclusion
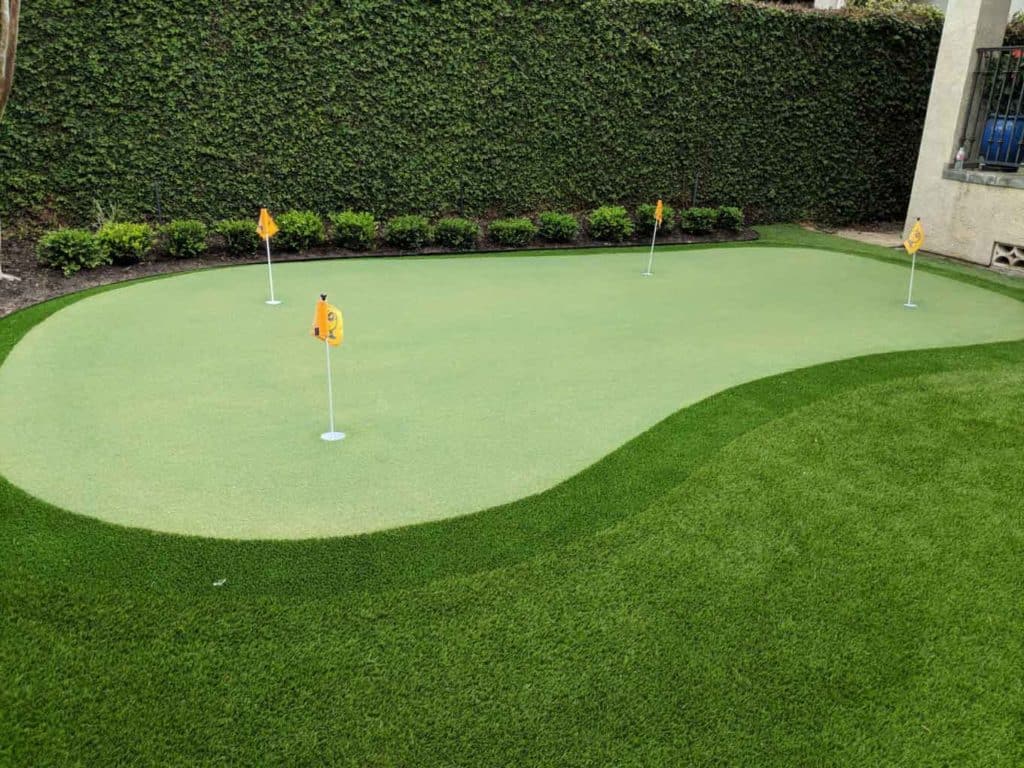
Building a DIY backyard putting green is a rewarding project that will not only improve your golf game but also provide endless hours of enjoyment. Follow these simple steps, and soon you’ll be honing your putting skills without leaving the comfort of your home. Get ready to impress your golf buddies with your newly acquired short-game prowess!